EV Charger Installation Guide UK: Cost, Process & Requirements

Written and reviewed by Sepehr. See our editorial policy.
Getting a home EV charger installed is one of the best upgrades an electric-car owner can make — overnight charging from a 7 kW wallbox is roughly ten times faster than a three-pin plug, and pairing it with a smart overnight tariff can bring the cost of a full charge to just a few pounds. But a lot of homeowners put the job off because they're not sure what to expect. This guide explains every stage, from the survey call to the first time you tap “Start charging” in the app.
Stage 1: The Pre-Installation Survey
Not sure what the installer will be looking for? Our home EV charger requirements checklist covers every electrical and regulatory box that needs ticking before work can begin.
Every reputable OZEV-accredited installer will carry out a survey before booking your installation date. This can be an in-person visit or, increasingly, a remote assessment using photographs and a short questionnaire. Either way, it is not optional — skipping it is a red flag.
What the surveyor checks
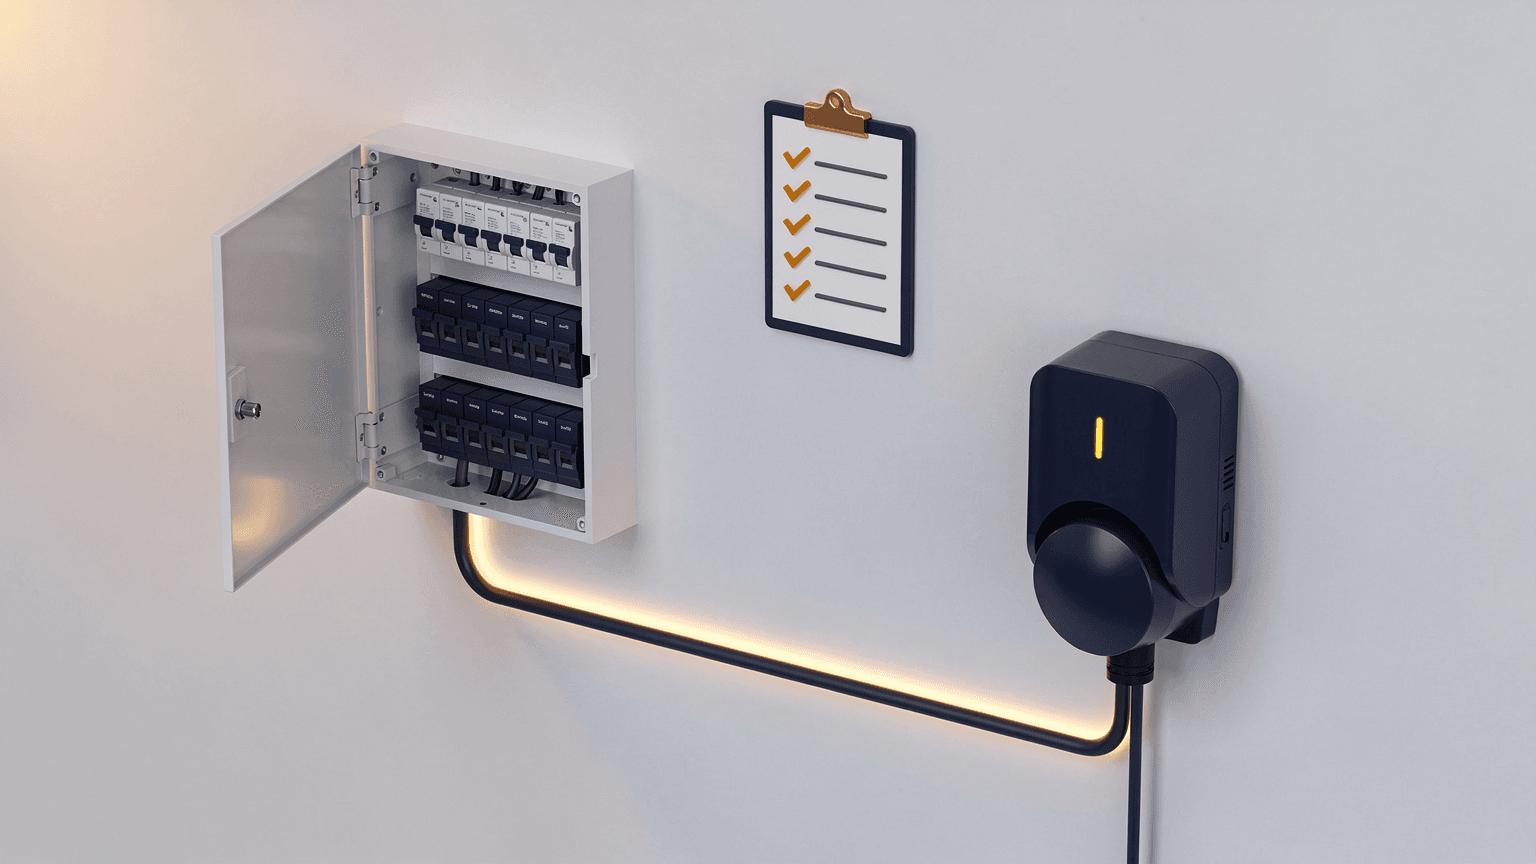
- Consumer unit (fuseboard) capacity. The installer examines whether your fuse board has a spare way for a new dedicated circuit and whether the board itself is modern enough. UK homes built or fully rewired after 2008 typically have a compliant metal-clad consumer unit with residual current devices (RCDs) already fitted. Older boards — particularly those with rewirable fuses or wooden backs — often need replacing before a charger circuit can be safely added.
- Main fuse (cut-out) rating. The DNO-supplied main fuse at your meter is usually rated 60 A, 80 A, or 100 A. A 7 kW charger draws around 32 A continuously, so the surveyor checks there is enough headroom on top of your household baseline load. If your main fuse is only 60 A and your home already draws heavily, load-balancing equipment or a DNO upgrade may be required.
- Cable route and run length. Standard installation quotes typically cover up to 10 metres of cabling between the consumer unit and the charger location. Beyond that, most installers charge an additional £5–£10 per metre. The surveyor maps the most practical route — often through a garage wall or under the eaves — and factors in whether armoured cable or trunking is needed for outdoor sections.
- Earthing arrangement. The installer confirms whether your property uses a TN-C-S (PME), TN-S, or TT earthing system. This matters because PME supplies require additional protection (a combined protective earthing and neutral, or PEN, fault detection device) for outdoor-accessible charge points.
- Wi-Fi or 4G signal. Smart chargers need connectivity to schedule charging, respond to grid demand signals, and allow remote updates. The surveyor checks signal strength at the proposed charger location.
- DNO notification. Chargers above 3.68 kW (the standard 7 kW wallbox sits well above this) must be notified to your Distribution Network Operator under Engineering Recommendation G99 before connection. Your installer handles this — you do not need to contact the DNO yourself — but it can add two to four weeks to the lead time if the DNO requests additional information.
Stage 2: The OZEV Grant — What It Is and Whether You Can Claim It in 2026
The Office for Zero Emission Vehicles (OZEV) still runs a grant scheme in 2026, though the eligibility rules changed significantly in April 2022 when homeowners with driveways were removed from the domestic scheme.
Who can claim. As of June 2026, the Electric Vehicle Chargepoint Grant is available to renters (private or social housing) and flat owners — not to homeowners in houses with driveways. If you own your house and have off-street parking, you are no longer eligible for the domestic homecharge grant.
How much. From 1 April 2026, the grant rose from £350 to £500 per socket, covering up to 75 % of the combined purchase-and-installation cost. The current round runs until 31 March 2027. You do not apply yourself — your OZEV-accredited installer claims the grant on your behalf and deducts it from your invoice, so you pay the reduced amount at the point of purchase.
Key conditions. You must own or have ordered an eligible plug-in vehicle (fully electric or plug-in hybrid), the charge point must be installed at the address where the vehicle is kept, and the installer must be registered on the OZEV approved supplier list.
For a full breakdown of every available EV grant — including the Workplace Charging Scheme and LEVI fund — see our guide to the best home EV chargers in the UK, which covers grant eligibility alongside charger recommendations.
Stage 3: Does Your Consumer Unit Need Upgrading?
Not every installation requires a new fuseboard, but it is one of the most common surprises homeowners encounter. Here is a rough guide:
- Modern board (post-2008), spare way available: almost certainly no upgrade needed. The installer adds a new 40 A MCB (miniature circuit breaker) and runs the dedicated circuit.
- Modern board but no spare ways: a split-load upgrade or a larger board may be required. Budget an additional £400–£600.
- Older board with rewirable fuses or no RCDs: a full consumer unit replacement is typically required before an EV charger circuit can be certified. Costs for this upgrade typically fall in the range of £500–£900 depending on the size and complexity of your installation, according to industry estimates.
The pre-installation survey will identify this before work begins so there are no surprises on the day.
Stage 4: Installation Day — What Actually Happens
For a straightforward installation — garage or driveway location, consumer unit in good order, cable run under 10 metres — the job typically takes three to five hours. Here is how that time breaks down:
Morning: circuit preparation
The electrician isolates the relevant circuits (your power will be off for part of the morning) and adds a new dedicated 40 A MCB in your consumer unit. For a 7 kW charger, the circuit runs on 6 mm² twin-and-earth or armoured cable. If any sections run outdoors or through a cavity wall, the cable is routed through conduit or armoured trunking to protect it.
Midday: mounting and connecting
The charger unit is fixed to the wall — typically at around 1.2 m height for accessibility — and the cable is terminated. The installer checks polarity, insulation resistance, and earth continuity before reconnecting the supply.
Afternoon: testing and sign-off
Before declaring the installation complete, the electrician runs a full suite of electrical tests: insulation resistance, earth loop impedance, and an RCD trip-time test. These are recorded on an Electrical Installation Certificate (EIC), which you should keep safely — you will need it if you sell the property or make an insurance claim.
If you're deciding between a tethered and untethered charger, or weighing up different power levels, our explainer on EV charger speed and tethering covers the trade-offs in detail.
Stage 5: Part P Building Regulations
Installing a new electrical circuit is notifiable work under Part P of the Building Regulations (England and Wales). This means it must either be carried out by a registered competent person who self-certifies, or be inspected and approved by your local authority Building Control.
In practice, virtually all EV charger installations are self-certified by NICEIC- or NAPIT-registered electricians, which is faster and cheaper than the Building Control route. Your installer handles the notification automatically — you will receive a Part P certificate (or a “Building Regulations Compliance Certificate” in Scotland, where the rules differ) as part of your documentation pack. Do not confuse this with the Electrical Installation Certificate — they are separate documents with different purposes.
DIY installation is not legally permissible for a notifiable circuit and would invalidate any OZEV grant, void your home insurance, and leave the installation uncertified — a problem when you come to sell.
Stage 6: Commissioning Your Smart Charger
Since June 2022, UK regulations have required all new home chargers to meet the Smart Charge Point Regulations. Every unit sold for domestic use must include scheduled charging, demand-side response capability, and a randomised 30-minute delay to prevent everyone in the street starting to charge at exactly midnight. In practice, this means every charger you can now buy is a smart charger.
App pairing
Once the unit is powered up, the installer walks you through pairing it with the manufacturer's companion app. You will typically need to create an account, scan a QR code on the unit or enter a serial number, and connect the charger to your home Wi-Fi. This usually takes ten to fifteen minutes.
Setting a charging schedule
The most important step is configuring a charging schedule to use off-peak electricity. Tariffs such as Octopus Go or the Intelligent Octopus plan offer overnight rates as low as 7–9 p/kWh between around 23:30 and 05:30. At those rates, filling a 60 kWh battery costs under £6 — compared with around £15 at a standard unit rate. Set your preferred departure time in the app and the charger will back-calculate when to start.
Load management and OCPP
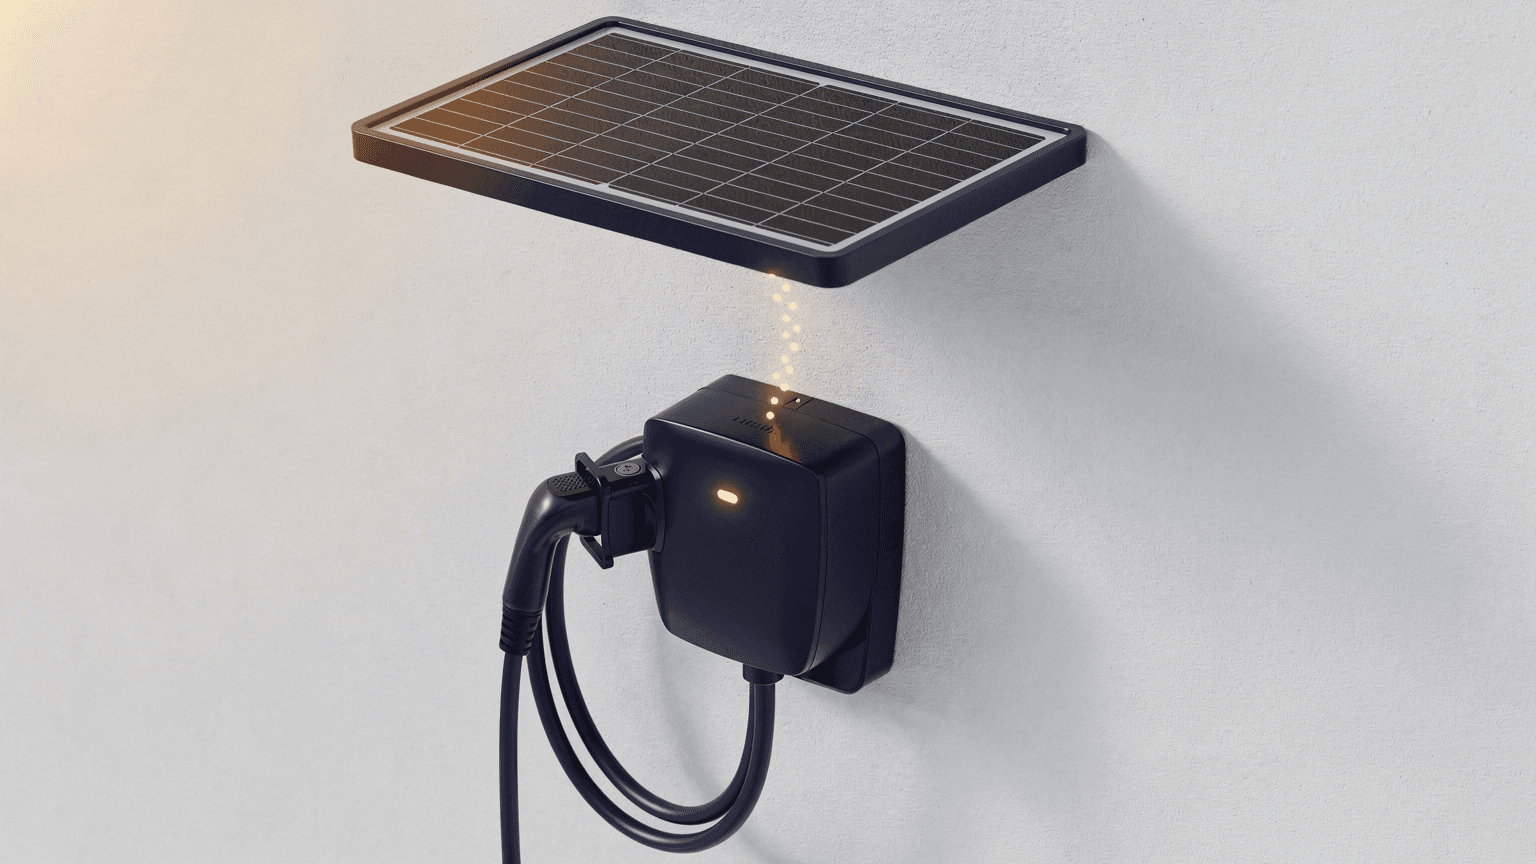
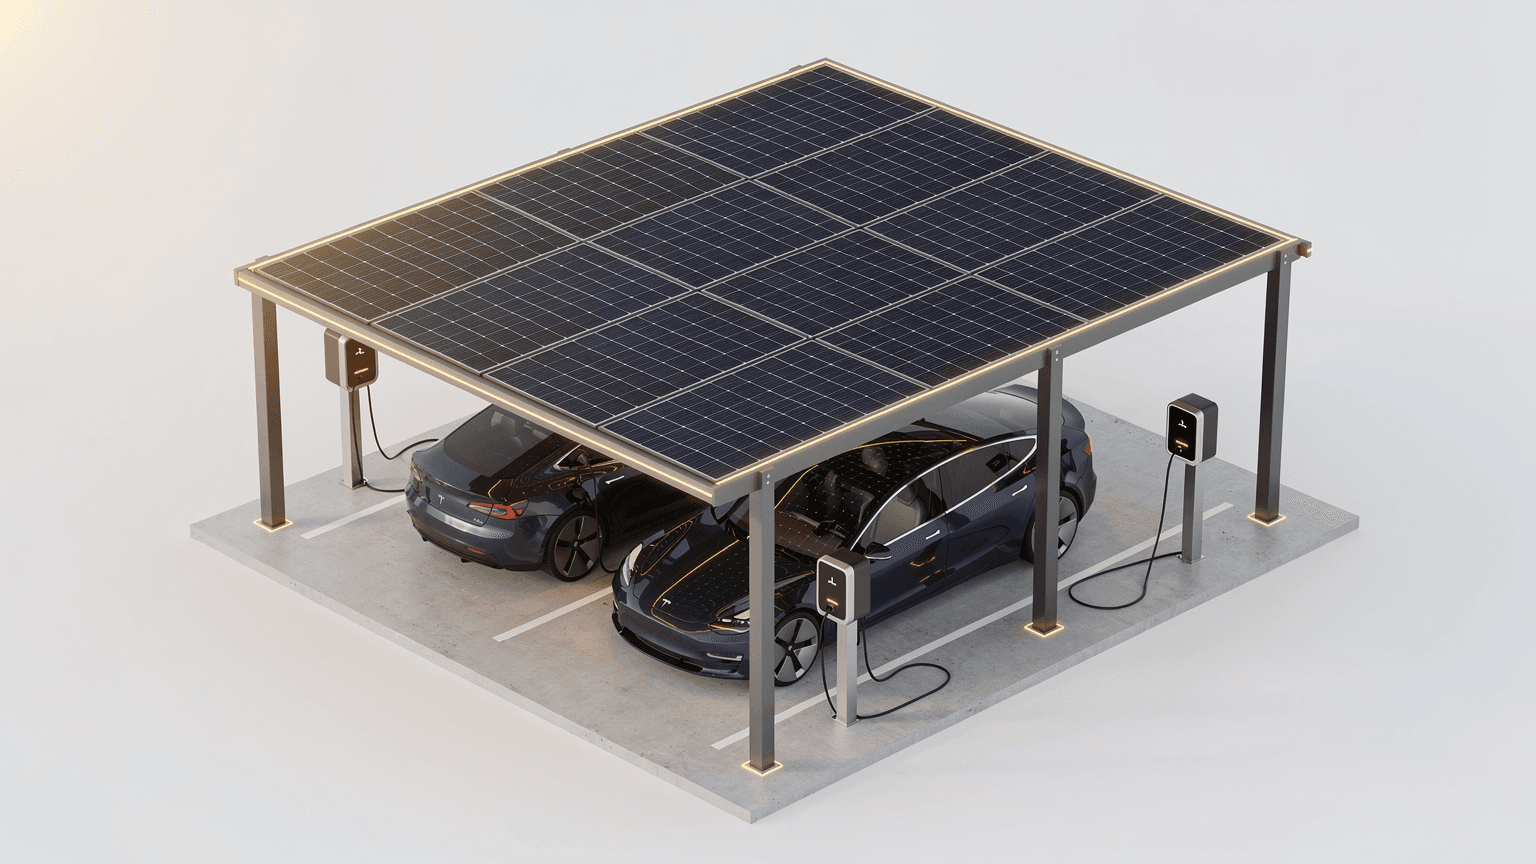
Higher-end chargers support OCPP (Open Charge Point Protocol), which allows them to communicate with third-party energy management platforms or a home energy management system (HEMS). If you have solar panels, OCPP or a proprietary solar integration allows the charger to automatically increase its charge rate when surplus solar power is available. See our guide on EV charging with solar panels for how to set this up.
Dynamic load balancing is another commissioning option worth enabling if your charger supports it. The charger monitors your household's real-time electricity draw and throttles charging to stay within your main fuse rating — so if you run the washing machine and the oven simultaneously, the charger steps back automatically rather than risking a fuse trip.
What to Check After Installation
Before the installer leaves, confirm you have received:
- Electrical Installation Certificate (EIC) — signed by the installer, covering the new circuit.
- Part P / Building Regulations certificate — confirming the work has been self-certified with Building Control.
- Manufacturer warranty documentation — most wallboxes carry a three-year warranty as standard.
- Grant confirmation — if you qualified for the OZEV grant, the installer should provide confirmation of the claim reference.
- App and schedule confirmation — verify the charger appears in the app, the schedule is set, and the unit shows as “ready” or “scheduled.”
Run one test charge immediately: plug in, confirm the app shows a session starting, then check the charge stops at your scheduled time. If anything looks wrong — the app can't find the charger, the LED status is unexpected, or the schedule fails to kick in — raise it with the installer on the day while they are still on site.
Typical Costs at a Glance
A standard 7 kW smart wallbox installation in 2026 — supply, installation, and certification — typically costs £800–£1,200 before any grant. Add £500–£900 if a consumer unit upgrade is needed. The OZEV grant of up to £500 applies to eligible renters and flat owners. For homeowners in houses, no domestic grant is currently available, though the Workplace Charging Scheme remains open to businesses.
FAQs
How much does it cost to install a home EV charger in the UK?
Can homeowners still claim the OZEV grant in 2026?
How long does an EV charger installation take?
Can I install an EV charger myself?
Do I need to upgrade my fuse box for an EV charger?
Sources — verified 7 June 2026
- GOV.UK — Electric Vehicle Chargepoint Grant for Renters and Flat Owners: https://www.gov.uk/electric-vehicle-chargepoint-grant-renters-flat-owners — www.gov.uk
- GOV.UK — Office for Zero Emission Vehicles (OZEV) grant schemes overview: https://www.gov.uk/government/collections/government-grants-for-electric-vehicle-charging — www.gov.uk
- GOV.UK — Smart Charge Point Regulations 2021 (SI 2021/1467): https://www.legislation.gov.uk/uksi/2021/1467/contents/made — www.legislation.gov.uk
- GOV.UK Planning Portal — Part P Electrical Safety (Building Regulations): https://www.planningportal.co.uk/permission/common-projects/electrical-works/part-p-electrical-safety — www.planningportal.co.uk
- Energy Saving Trust — Electric vehicle charging at home: https://energysavingtrust.org.uk/advice/charging-your-electric-vehicle-at-home/ — energysavingtrust.org.uk

About the author
Sepehr
Solar specialist & co-founder, Smart Solar Homes
Solar specialist and co-founder of Smart Solar Homes, which works with MCS-certified UK installer partners. I write all the guides and reviews here; the aim is straight-talking education the industry rarely provides.
Browse EV Chargers on Smart Solar Homes
Want to compare these side by side? Use the compare tool →
Or browse all EV Chargers on Smart Solar Homes.
Related reading
More on ev chargers from the editorial team.